Monthly Archives: October 2013

Chocolate Chip Cookie-Top JUMBO Muffins

I always always have a soft spot for for huge top muffins or what my hubby calls it as ‘mushroom-top’ muffins because of its overflowing crown which resembles a mushroom.

Look @ the arrows pointing to the muffin caps. Don't they look like mushroom top?

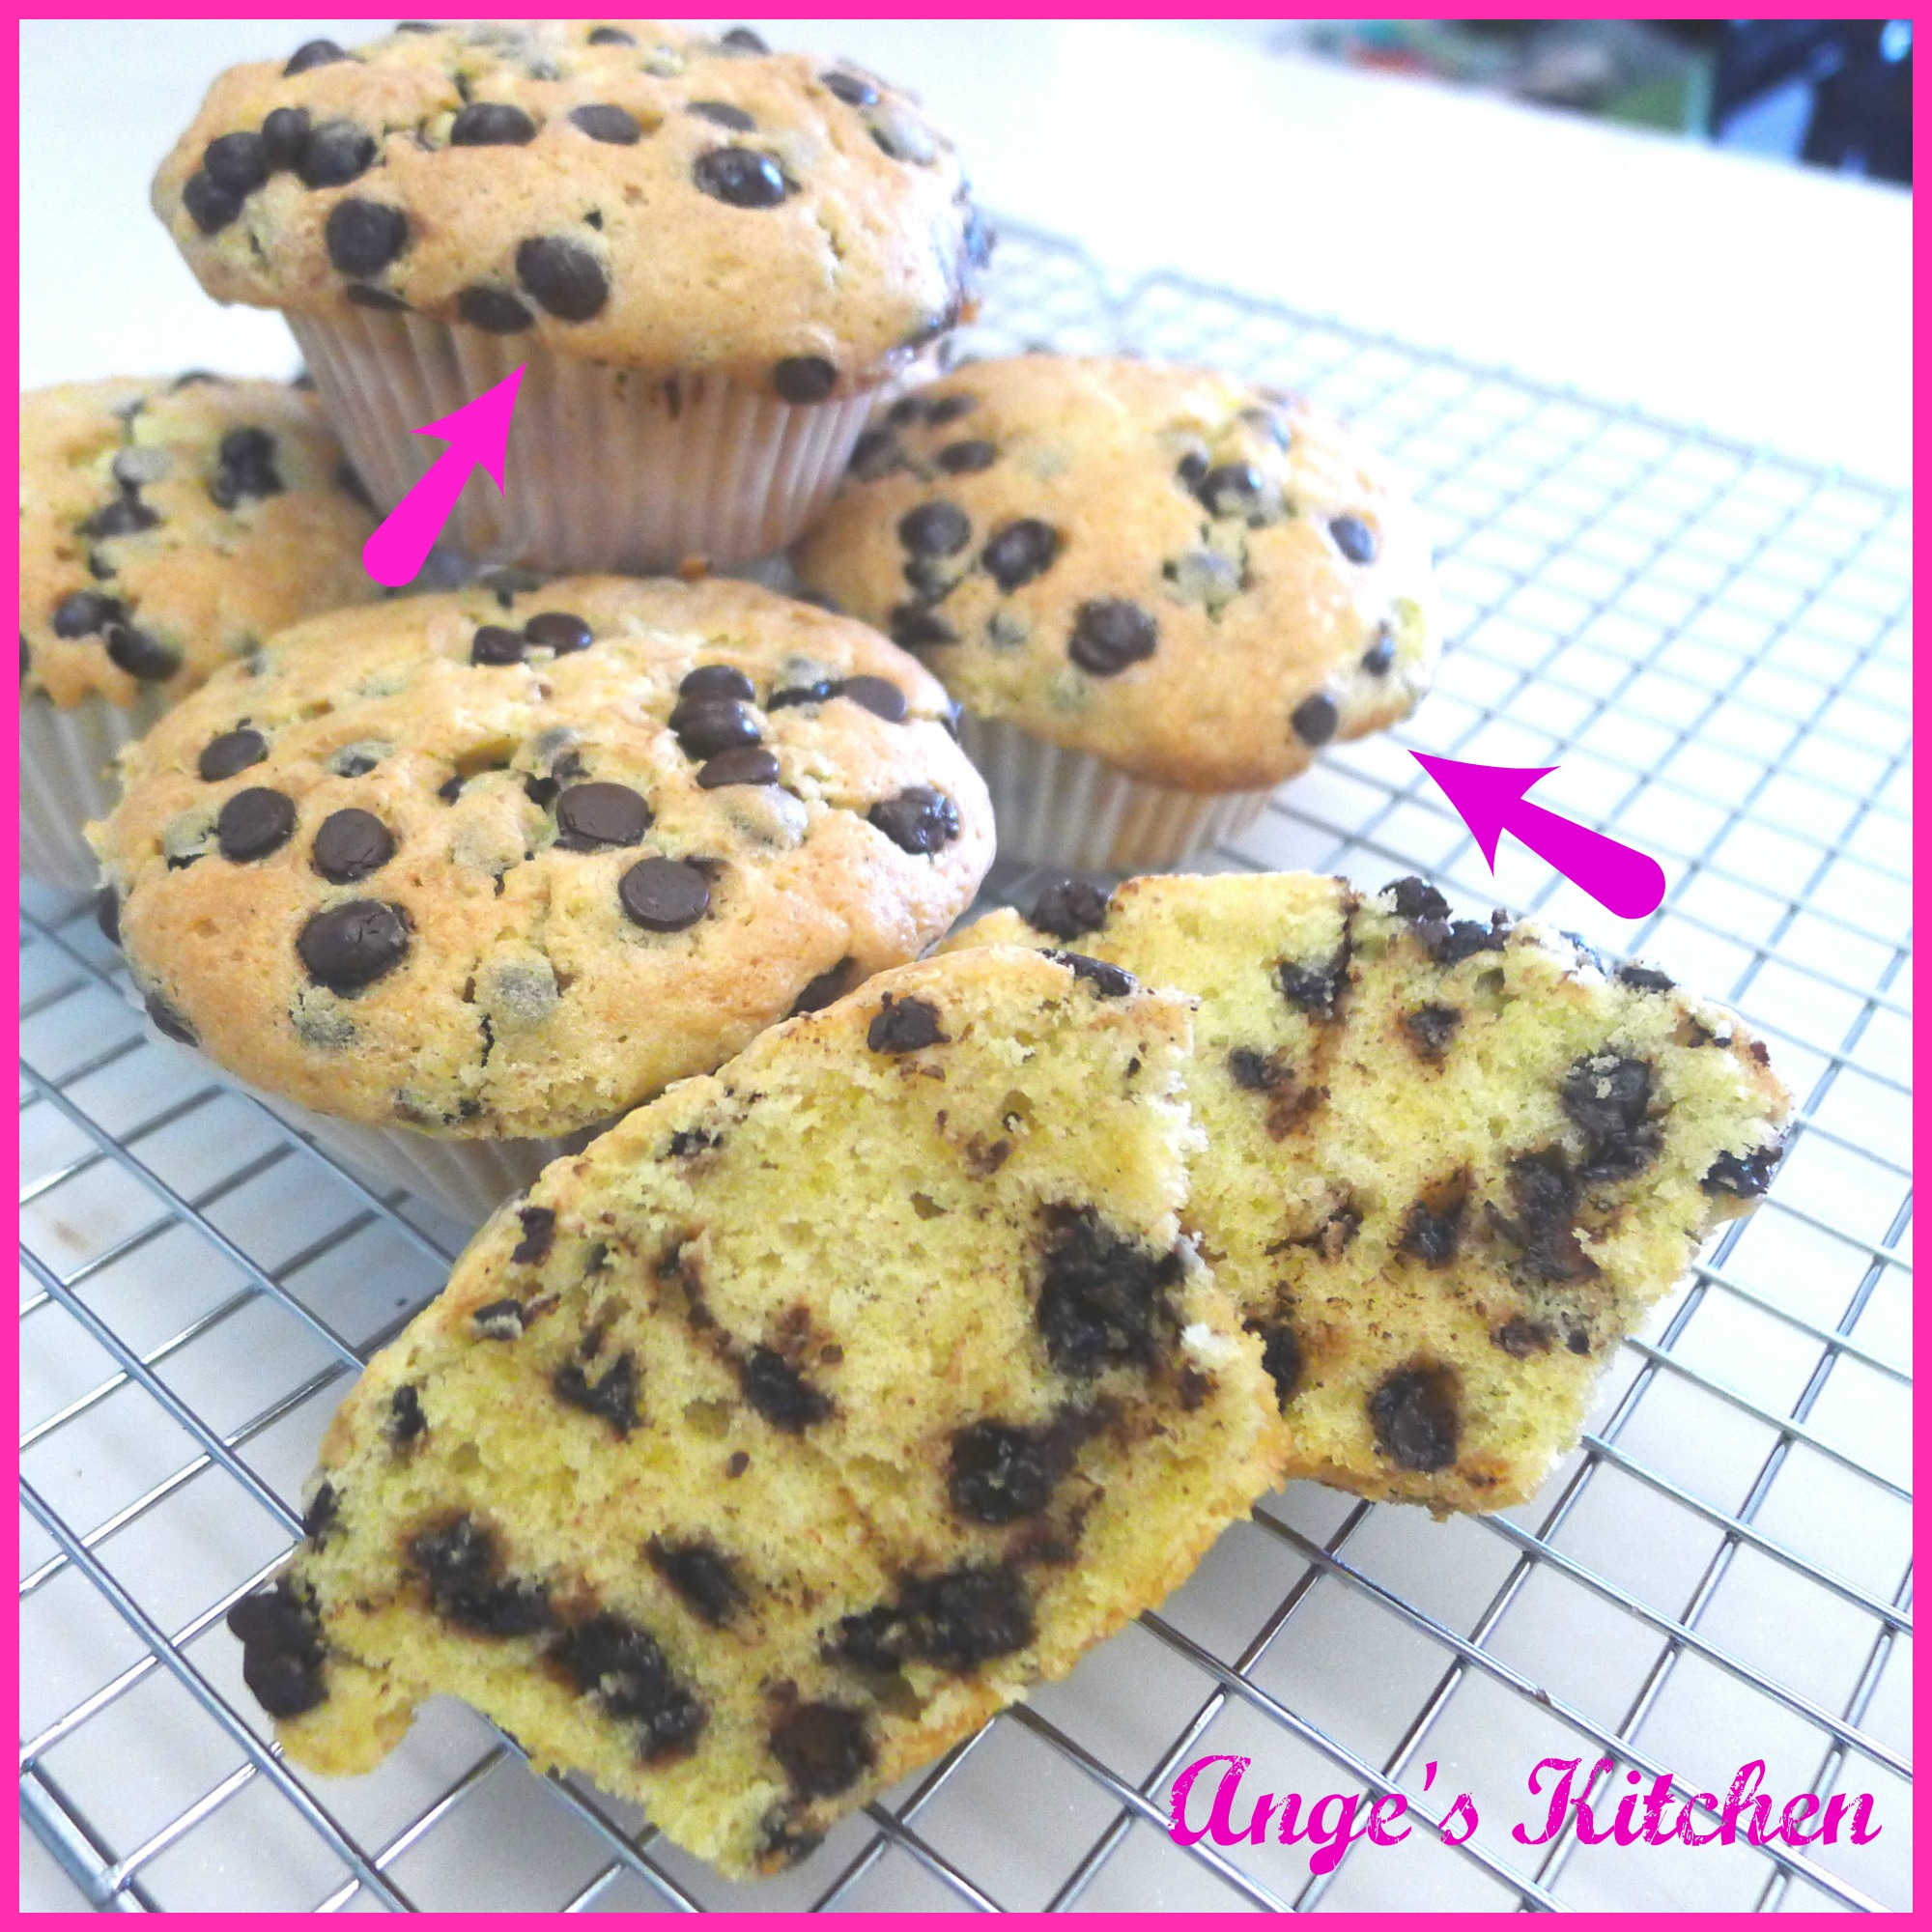
Look @ the arrows pointing to the muffin caps. Don’t they look like mushroom top?

I mean seriously who can resist these delicious looking things, calling for us to bite into them.You must be wondering why I name it cookie top muffins. This is because the bird’s eye view of these muffins really do look like chocolate chip cookies. Also with those crusted crown, it does indeed really taste like a soft cookie, crispy at the edge. With the egg-separation method the body of the muffin is tenderly moist and soft (even till the next day).

Doesn't the top look just like chocolate chip cookies?

Doesn’t the top look just like chocolate chip cookies?

These cookie-top muffins were so seriously good that my boys actually made me bake them for 3 consecutive days. So…. I have decided to place this under our Family’s Signature.

Here is how to make these lovely munchies. Totally AWESOME with a glass of cold milk or a cup of hot flora white tea. 🙂

CCJumboMuff-4

Servings: 6 Jumbo Muffins

Ingredients

  • 150g Top Flour
  • 150g Unsalted Butter (Room Temperature)
  • 100g Caster Sugar
  • 3 Egg Yolks
  • 1/8 tsp Baking Powder
  • 1/4 tsp Salt ( I use my favourite pink salt)
  • 1 tsp Vanilla Extract
  • 120g Chocolate Chip (put aside 3 tsp for the muffin topping)
  • French Meringue: 3 Egg Whites & 30g Caster Sugar

Preparations:

  • Line the muffin tin.
  • Preheat oven to 170°C.

Method (with step-by-step photo) 

  1. Cream the butter to incorporate air till pale yellow.
  2. Add sugar and salt, whisk till light and fluffy(mayo-like texture).
  3. Whisk in egg yolk one at a time.
  4. Mix in the vanilla extract.
  5. Prepare french meringue in a clean mixing bowl (To read up on how to whisked up meringue, click here).
  6. Sift in flour and baking powder.
  7. Fold in the flour quickly till it just disappear into the butter mixture. DO NOT OVERMIX as you will end up with a tough & dense sponge.
  8. Add in chocolate chips.
  9. Fold in 1/3 of the meringue. Fold in the remaining meringue quickly.
  10. Fill lined muffin tin with batter to the brim. This will give you a beautifully crusted crown.
  11. Top off the batter with 1/2 tsp of chocolate chips on each muffin.
  12. Bake at 170°C for 35mins or when skewer comes out clean.
  13. Cool on cooling rack.

CCJumboMuff-8CCJumboMuff-9CCJumboMuff-10CCJumboMuff-11

Verdict by Clemens (my eldest boy with a picky tongue):

  • Best eaten after it has cooled off from the oven immediately because that’s when the crown is the crustiest and the body- warm, soft and moist. Totally deliciously.
  • Great on the day itself because the top still feels like eating cookie with a moist and soft body.
  • Second day- Still good but abit nah……… because the crown is no longer as crusty as the 1st day. but the body is till moist and yummy.

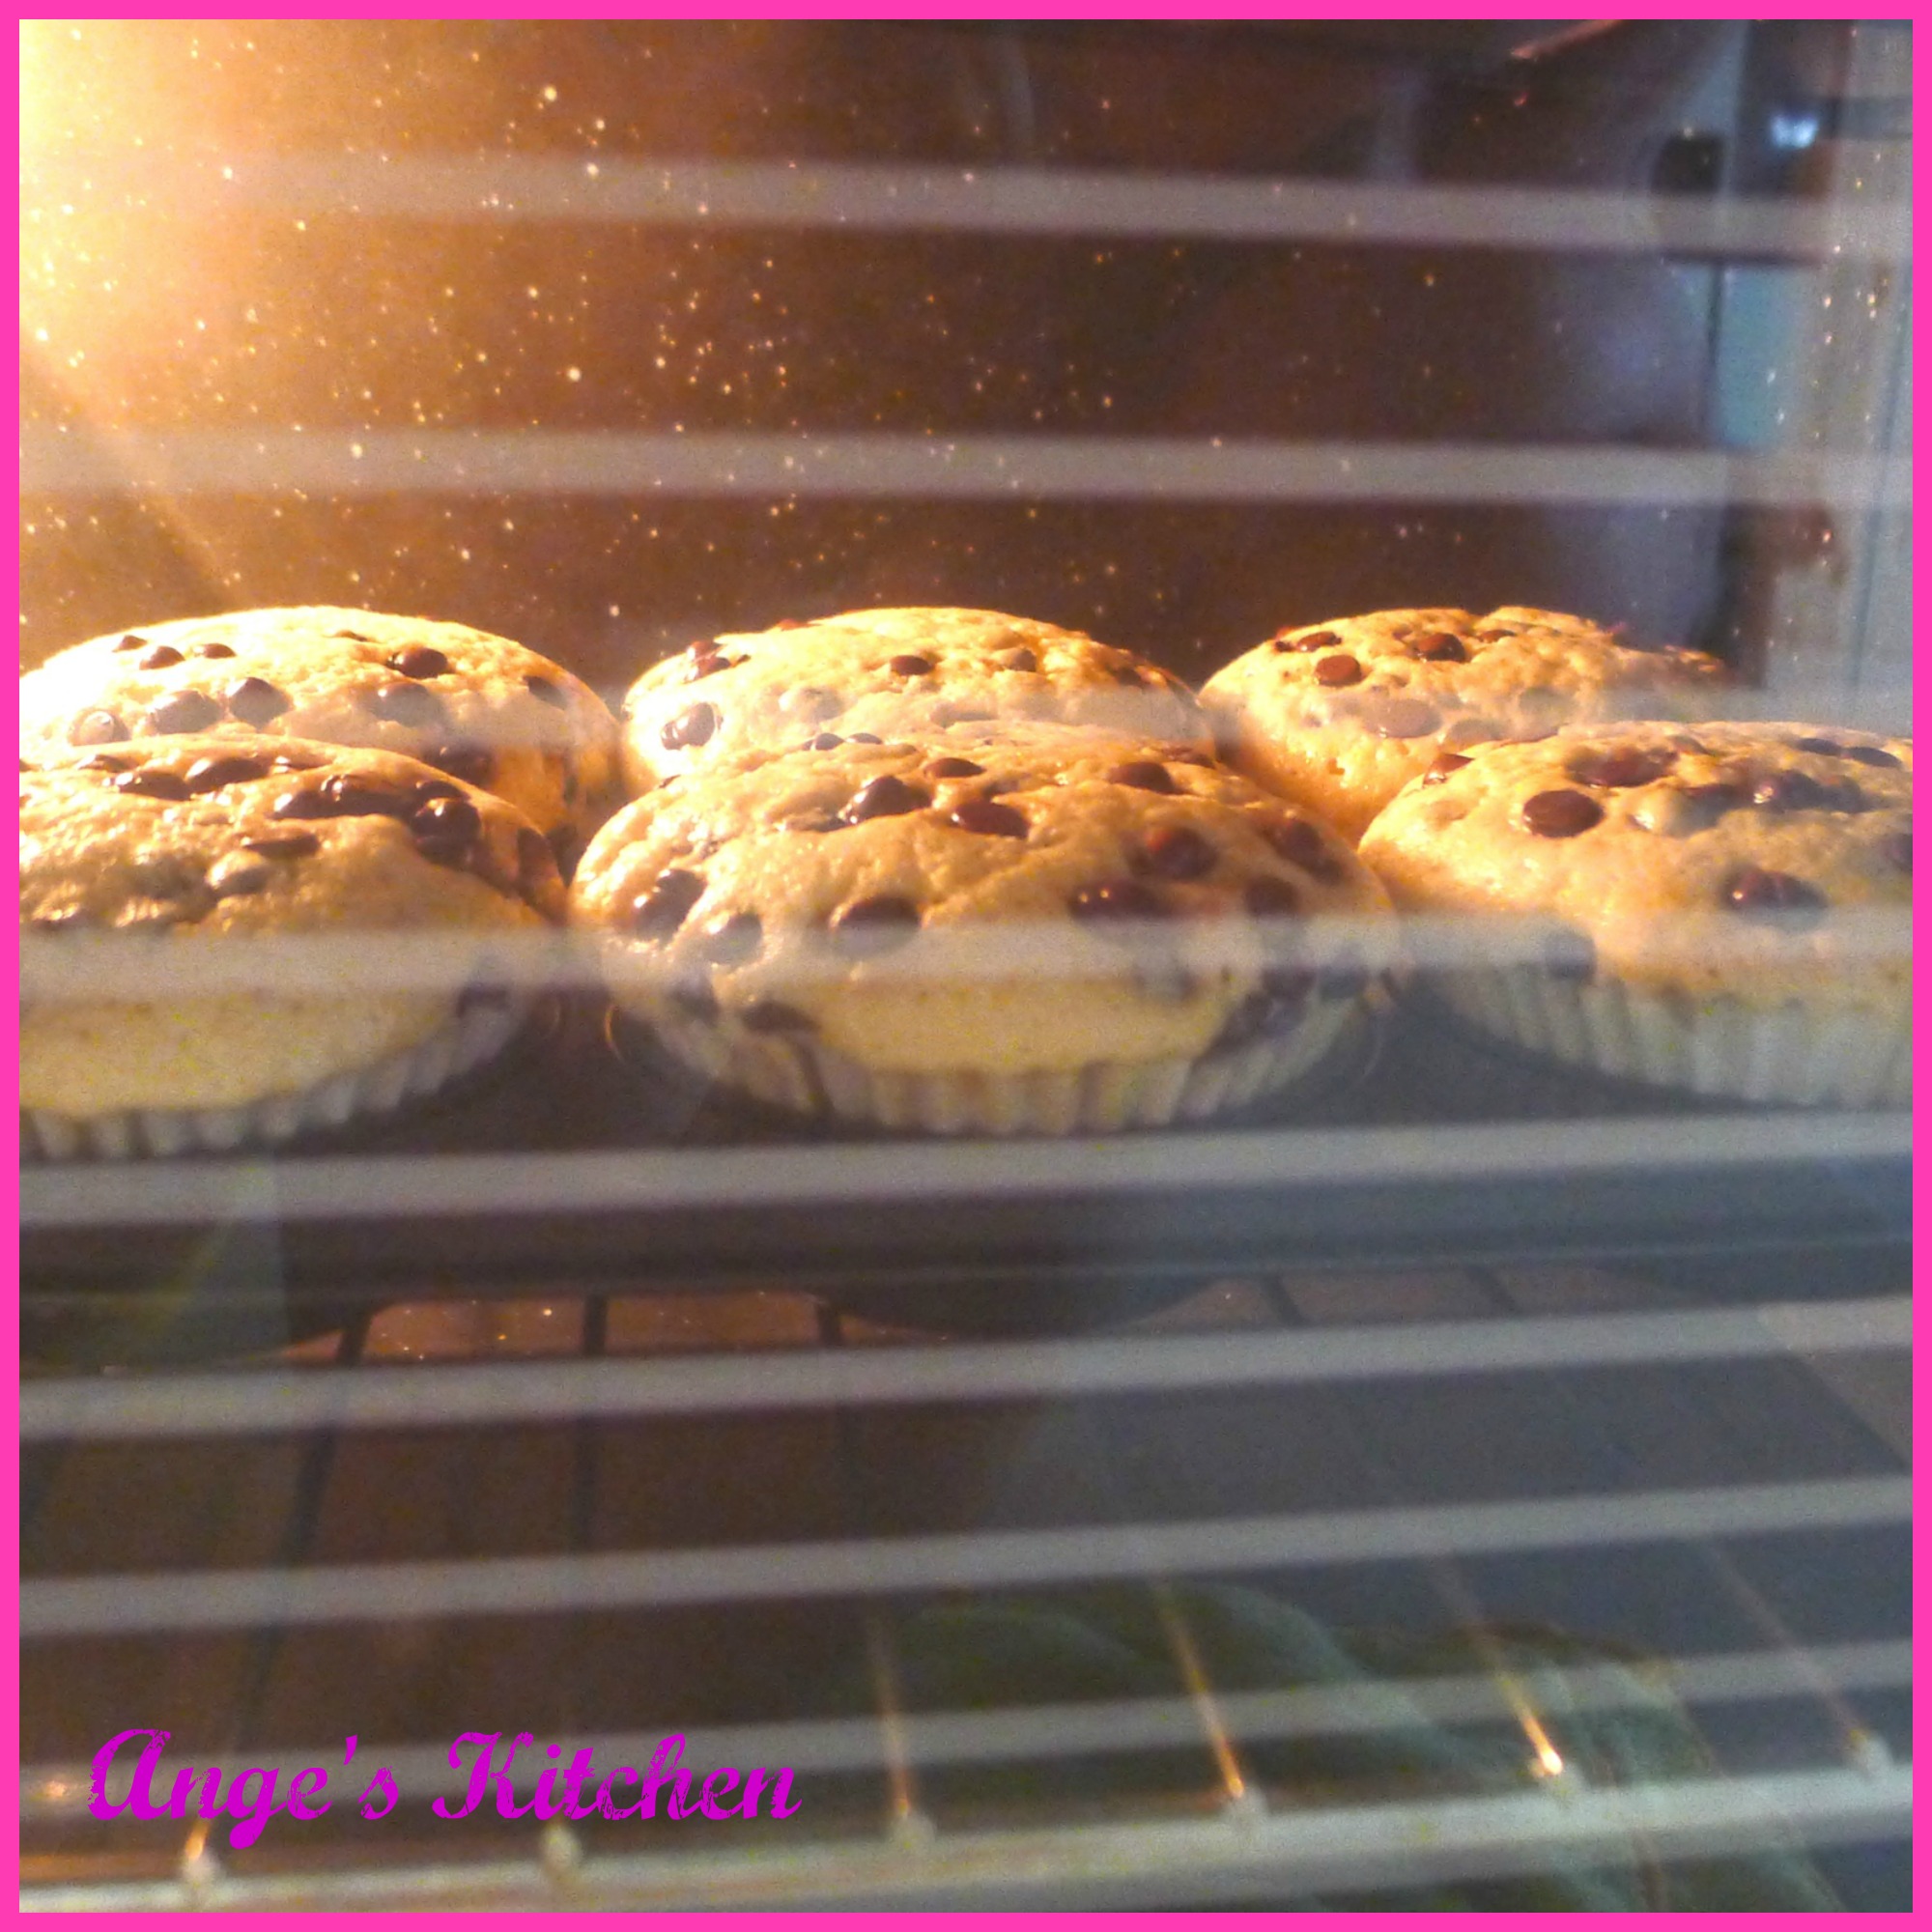
If there is anything I love to bake these muffins, it’s also the baking process. Watching the batter rise to have a glory crown is indeed truly fascinating. Watch the magic unfold:

CCJumboMuff-5CCJumboMuff-6CCJumboMuff-7CCJumboMuff-2

The box of muffins Clemens had requested me to make for a special lady and a little girl. 🙂

Making French Meringue

I know and understand that I am suppose to write about the Chocolate Chips Cookie-Top Jumbo Muffins. However I decided to write on whipping the egg whites to make a French meringue (aka Common Meringue)  first because quite a number of my recipes uses the yolk and white separation method. Therefore it is really good to know.

Meringues are whipped egg whites sweetened with sugar. Frequently used for pie toppings and cake icings, they are also used to give volume and lightness to buttercream icings, mousses and dessert souffles.

French meringue (aka Common Meringue) is made from egg whites at room temperature, beaten with sugar. It is the easiest to make and rather stable due to the high percentage of sugar.

FM-1

Egg Whites Whisked to Stiff Peak

I also particularly like to use them in my pound cakes recipes, muffins recipes and of course chiffon (it is needed in chiffon anyway) because of the light tenderness it gives my cakes, the moist and I love how it doesn’t dry out when I keep my cakes out in room temperature even for a couple of days.

When I first started to self-discover the route to making meringue, I never knew that there was so much knowledge, details  to it and so much care that is needed to do it. I am by no means a professional to this topic but I believe what I know is self-sufficient as a home-baker.

Guidelines For Making Meringue

  • Fats prevent whites from foaming properly! Always use squeaky clean bowls. Any traces of grease/fat will prevent the whites from foaming well. I recommend using stainless steel or glass bowl as plastic bowl can harbour traces of grease. Also make sure there are no traces of yolk in the whites as yolk contains fat.
  • Egg whites foam better at room temperature! Always remove eggs from cooler 1 hour before whipping.
  • Sugar makes egg whites foams more stable. Meringues are thicker and heavier than unsweetened egg white foams. But egg whites can only hold a limited amount of sugar without sacrificing volume, so always follow the recipes.
  • Mild acids helps foaming. Therefore some recipes like the angel food cakes/ chiffon will call for a small amount of cream of tartar or lemon to be added to give the meringues more volume and stability.

Whisking French Meringue (with step-by-step photos)

  1. Crack the egg whites into a clean bowl. Make sure there are no traces of yolk. Yolk contains fat & it’ll prevent the egg whites from foaming well. Also put aside the precisely measured sugar in another bowl.
  2. Whisk the egg whites on medium speed. Pour 1/3 of your sugar from the side of the bowl when the liquid has turned to foam like a cappucino froth, . Turn the speed to High.
  3. Add the second 1/3 of sugar when the foam becomes finer and fluffy peaks start foaming.
  4. Add in the last 1/3 of sugar when the peaks are starting to get define, you can feel the resistance and the foam is shiny.

FM-3

Now that the meringue is done, it should have defining peaks, shiny to look and even when you overturn the bowl upside down, the meringue will not fall out. Just like this:

An overturned bowl of French Meringue.

An overturned bowl of French Meringue.

This stunt never fails to fascinate my kids. This gravity defying act is totally MAGIC to them. 🙂

Things To Note:

  1. Sugar substitutes are not useful in meringue.
  2. Always add the sugar 1/3 at a a time from the side of the bowl (not in the middle to prevent deflating the meringue) in the 3 stages peak formation: Soft, Firm and Stiff Peaks.
  3. Always use the meringue IMMEDIATELY as we do not want it to deflate. 

The Ever Versatile Dashi Stock

In my previous post on Mock Frog-Leg Congee, I have mentioned that I used the Dashi Stock to cook both the chicken and congee. Therefore I am sharing with you my Dashi stock recipe.

Dashi stock is a clear cooking stock, considered fundamental to Japanese cooking and all you need is 2 main ingredients- the konbu seaweed and the bonito flakes (I used the slices ones) to prepare it, although I also used the 3rd ingredient-the niboshi (dried baby sardines) all the time too.

Dashi-2

Niboshi (S$21 per 100g) is a few times more expansive than our chinese dried ikan bilis and it has a more distinct sweetness to it as well, where else  the chinese dried ikan bilis has a more plain saltish taste to it. However, I am always very careful when buying the niboshi. I never ever buy the off-shelves ones for the fear of it staying already too long the shelves thus causing it to turn slightly rancid with a strong smell of old musty oil (not sure if you get what I mean though?)- These will give you a nasty stock. I will usually wait for the Japanese Food Fare at Isetan Scotts. They will usually have aplenty of it, selling it by the weight, freshly packing it up and sealing it up in front of you. Most of all, I will always get to taste a couple of these dried fishes to make sure that they do not taste or smell rancid, and then I will stock it up and store them in my freezer. They stay for up to a good 1 yr in the freezer.

Anyway let’s come back to dashi stock. This is the stock that makes your miso soup, shoyu noodle broth, cold soba dipping sauce and I even use it as a soup base to cook our slice fish/ meat ball congee. And because it is so simple, so easy, so fuss free and most importantly OIL-FREE(also low-calorie) plus loaded with the calcium, minerals and iodine from the niboshi and konbu and the smoky aroma from the bonitos, this stock is a hell load of goodness for the women and growing children.

Below is my recipie that I am sharing.

Dashi-1

Servings: 2 pax

Ingredients Needed:

  • 500ml Water
  • 10g Niboshi, rinsed (optional to have)
  • 10g Konbu Seaweed, wiped with a damp cloth
  • 10g Bonito Flakes

Method (with step-by-step photos)

  1. Bring the niboshi and water to a boil.
  2. Place in the konbu and bonito flakes.
  3. Cover and let it seeped / soaked for 30mins-60mins.
  4. Strain and the stock is ready to use.

Dashi-3

See that’s how easy it is and usually by 30mins, the stock is already very flavourful. I have been making it so very often that the dashi stock is already an instant fix to cook noodles for supper when all my boys are calling out in hunger. Oh yes, do not be surprise that my boys do make me cook at 11pm at night, when I have already bathe, done my facial mask and all the nighlty routines. 😦 Spolit aren’t they? And because its that easy, I no longer feed my family with instant noodles (unless my hubby and I have a craving for it)

Now what I have shared with you is the ichiban dashi. This is known as the 1st stock where you use the stocks for miso soup or noodle broth. And because the ingredients are rather expansive here in Singapore, After straining out the 1st stock, I will usually add somemore hot water to re-extract more goodness out of the niboshi, kombu and bonito flakes already used for ichiban-dashi. This is known as the niban-dashi. This is good for stews and sauces. I sometimes even boil my broccoli and other greens in it to give it that smoky aroma.

I know you will ask me why so troublesome when there are instant packages of dashi granules around. I am seriously not sure how nice it taste as I have never used them before. But I know that some are also packed with MSG though you can try to look around for those MSG-free dashi powder. And also once you have made your dashi from scratch, it is so addictive that you might perhaps not look back again.

My World of Dashi Stock

My hubby’s favourite wagyu beef bowl with miso soup

Dashi-6

 My boys’ favourite lava egg with somen in dashi stock with a dash of soya sauce.
Dashi-7
Wagyu congee cook in dashi stock to give that distinctive smoky favour.
Dashi-4
Totally YUMMY!!! I just LOVE Dashi.

Mock Frog-Leg Congee

My family loves the frog porridge at Lion City Frog Porridge especially my boys. However for $8.00 a frog and with such little meat, it can rather expensive when we bring our little troops out for supper.

Anyway one of the most similar meat to frog leg is actually the chicken thigh, so when the cravings kick in and our wallet is feeling not too generous, what do we do? Well, it is to CIY (Cook-It-Yourself). 🙂

It is not difficult to do this dish but a little tedious as we need to marinate and cook the chicken,  cook the congee separately and assemble them together.

Servings: 4 pax

A: Cooking The Chicken

Ingredients

  • 4 pcs Chicken Thighs (skinned & cut to bite size pcs)
  •  2tsp Fish Saucec
  • 2tbs Oyster Sauce
  • 2tsp Sesame Oil
  • 1tsp Dark Soya Sauce
  • a dash Pepper
  • 1tsp corn flour (only to be added before cooking)
  • 2 slices ginger
  • 4 segments of garlic clove (chopped finely)
  • 2 sprigs spring onion
  • 100ml Stock (chicken or dashi)
  • a splash of Chinese Cooking Wine

Method (with step-by step photos)

  1. Cut the chicken thigh meat into bite size pieces
  2. Marinate the chicken with fish sauce, oyster sauce, sesame oil, dark soya sauce and pepper  for at least 30 mins.
  3. Before cooking, mix in the corn flour.
  4. Heat oil and fry the ginger till fragrant.
  5. Add in garlic and fry till fragrant.
  6. Add in marinated chicken and fry till nearly cook.
  7. Add the splash of chinese  cooking wine to deglaze.
  8. Add in stock. Bring to a boil, then simmer till sauce thickens.  (water will do fine too if you do not have stock)
  9. Add in sprigs of spring onions for flavour and garnish.
  10. Plate and put aside.

CC-2CC-3CC-4

B: Cooking the Congee

Ingredients

  • 2.5 cups of Short Grains (approx 375g)- washed & rinsed
  • 1.5L of Water
  • 1L of Chicken/Dashi Stock
  • 1/2 ladle Sesame Oil

 Method (with step-by step photos)

  1. Rinse short grains rice till water runs clear (abt 3-4 washes)
  2. Bring to a boil and lower fire to medium. Give it a stir occasionally to prevent bottom from burning.
  3. When the liquid is starting to run low, add in the stock gradually(300 ml at a time), stirring it at the same time, till you get a smooth, thick consistency. Takes about 45 mins to 1hr.
  4. Add in the sesame oil and give it a good stir. (This makes the congee smooth.)

CC-5

Assemble

Spoon the congee into a bowl and top it off with the chicken and the sauce.

Things to Note:

  1. Its is very important to use stock to cook the congee as it is what it gives the grains the flavourful burst each time you put it in your mouth.
  2. No seasoning is needed in the congee as the sauce from the chicken already acts as a seasoning for the congee.
  3. The chicken dish does not necessarily needs to be eaten with the congee. it is really good with steam rice too.